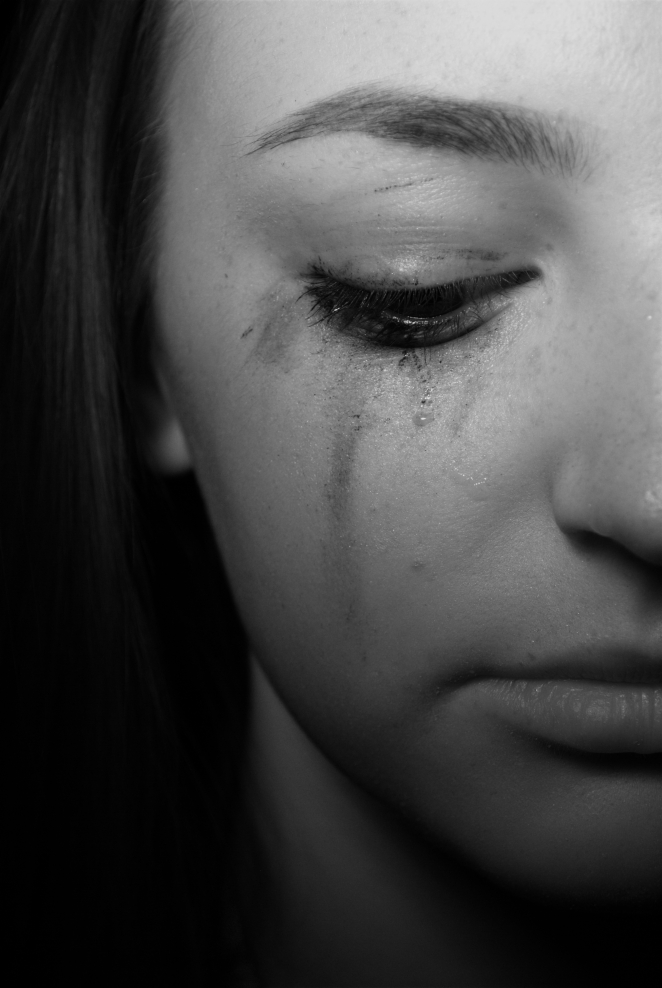
GALLERY-


A response to Art – Final Photos
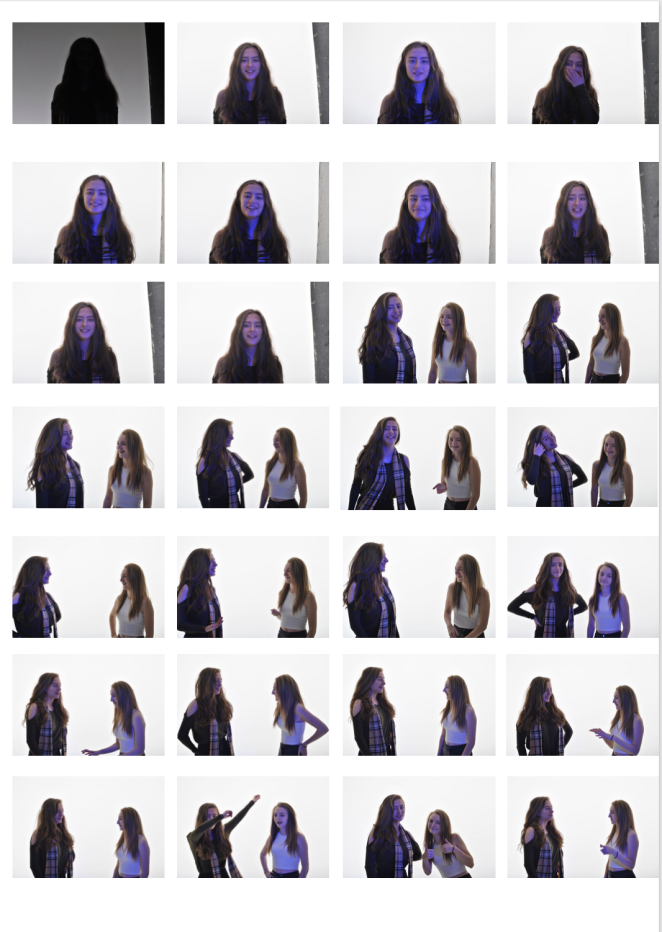
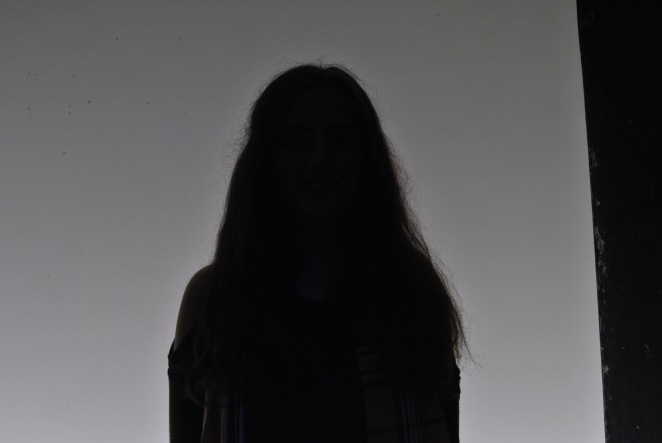
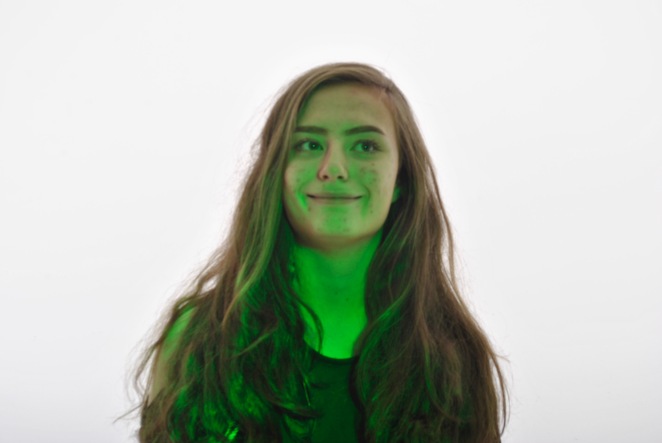
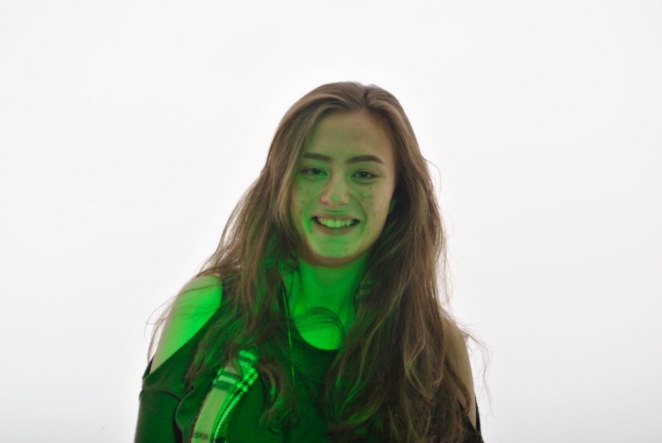
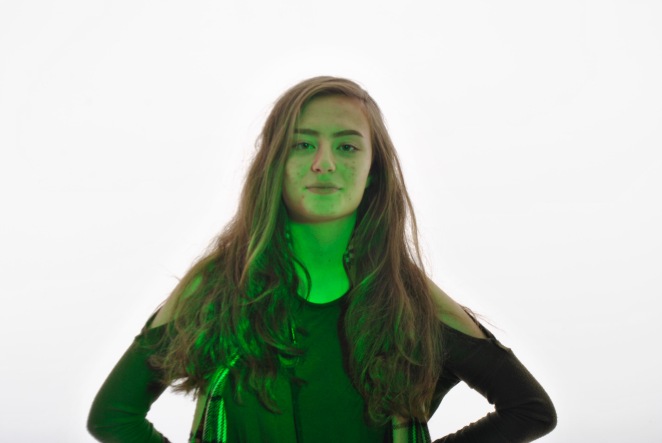
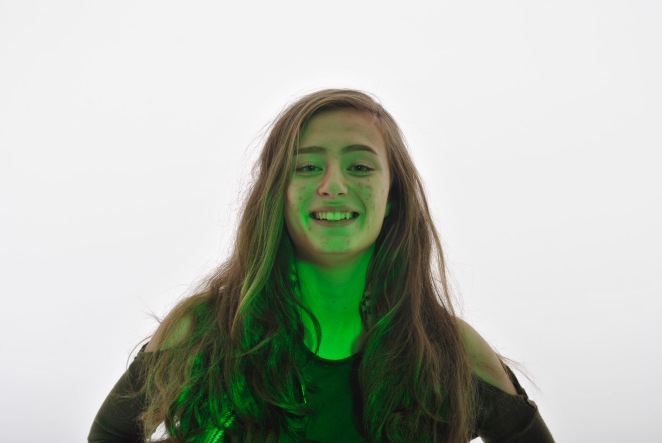
For this picture above I used a gel paper (which was green) over a honeycomb light and we placed it so that the green light would just be on the model and not on the background.
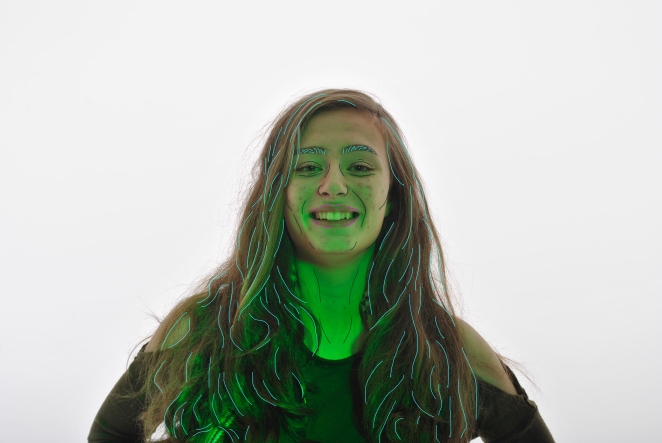
I then went onto edit the photo and outlined the models facial features and hair.
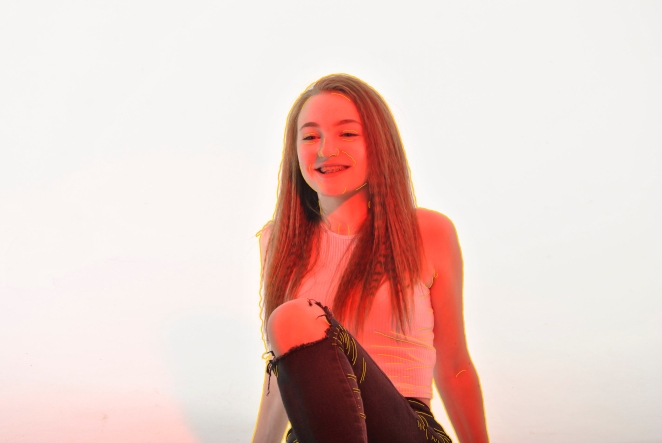
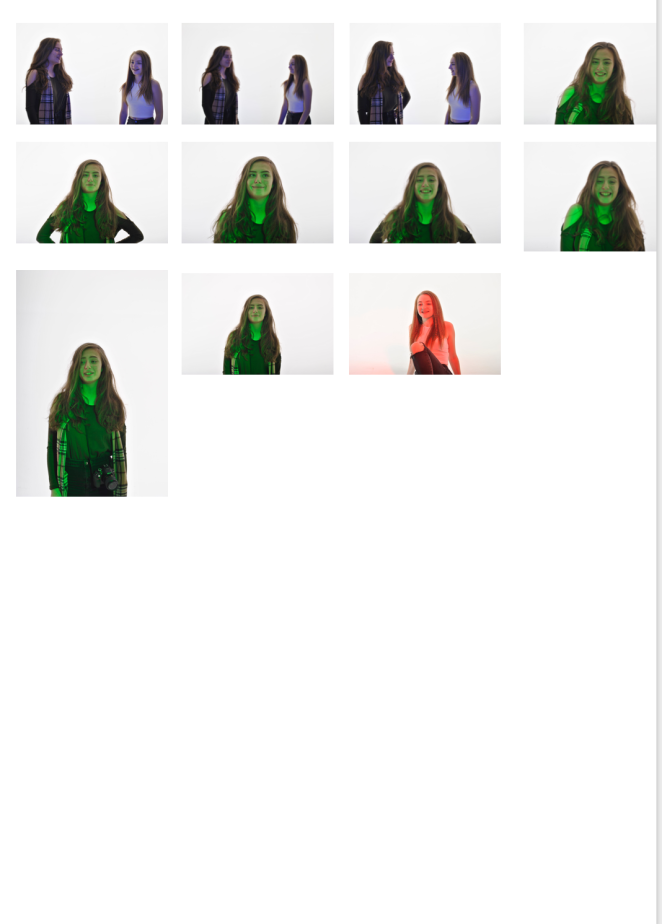
For this photo I added a red gel to the honeycomb and I got the model to sit on the floor and raise her knee up so that I could outline the creases around the leg, then I went and edited it and added all the outlines of the creases so that it was more visible.
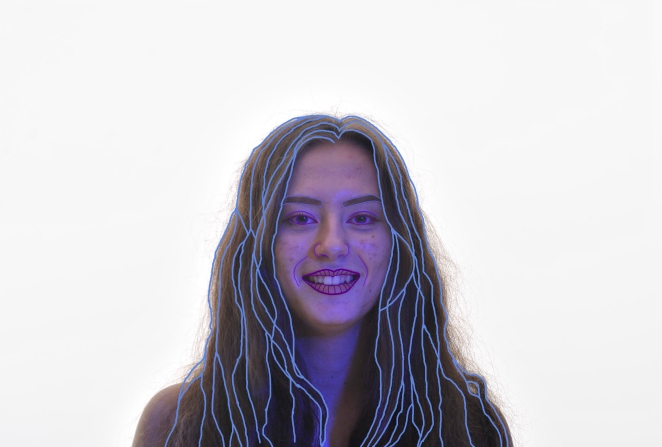
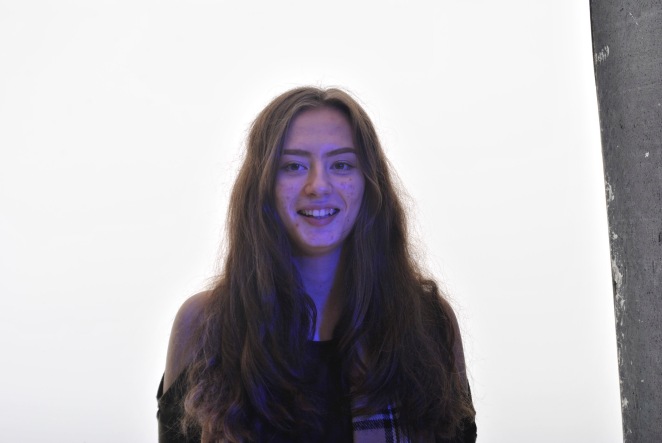
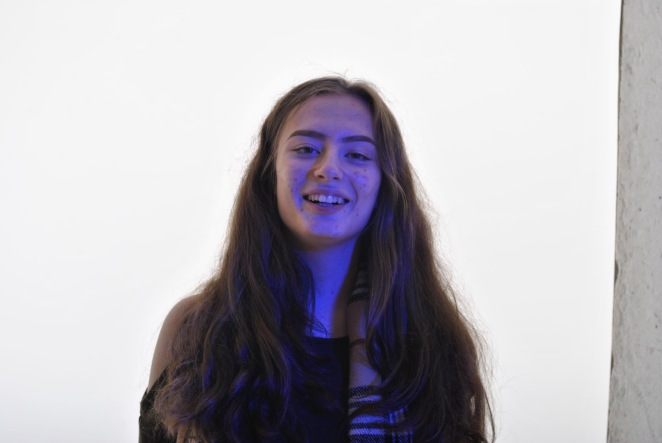
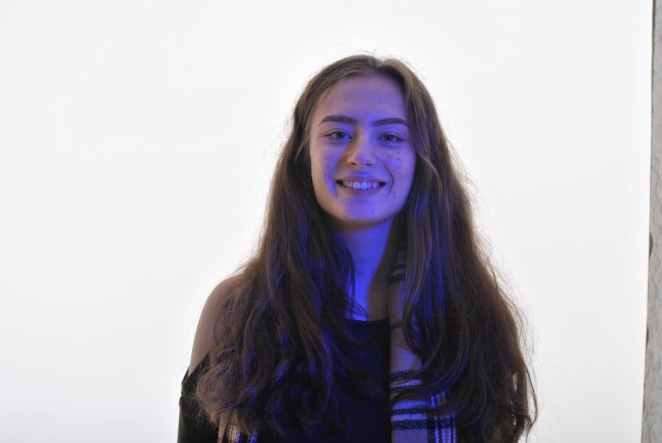
I edited this picture by outlining all of the main features of her hair and face. I also had a purple gel on a honeycomb modifier which created the model to have a purple face and then I also made sure that all of the outlines were different shades of purple too.
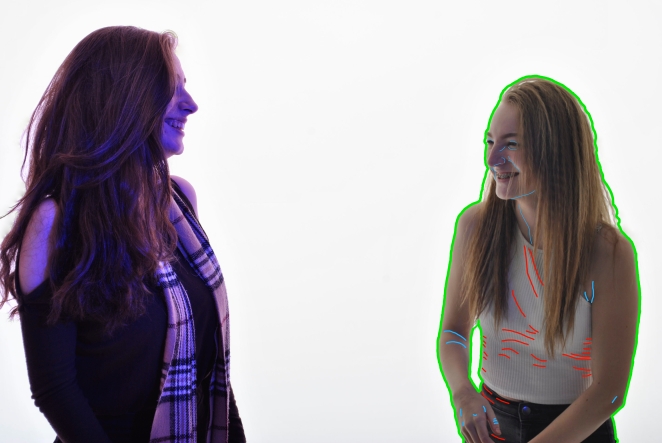
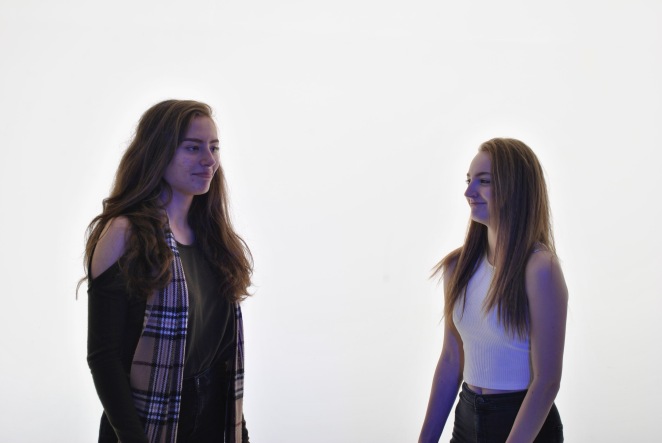
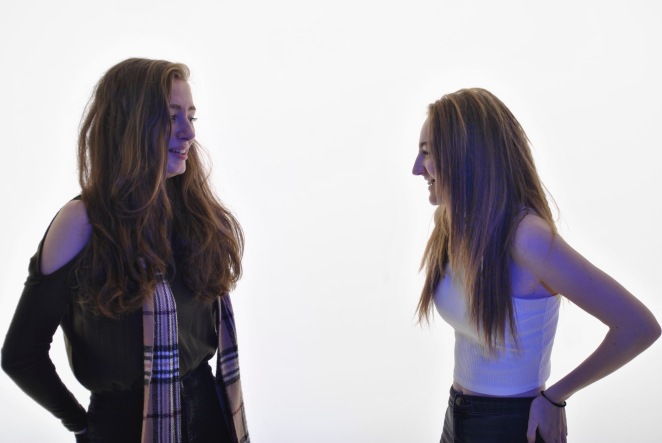
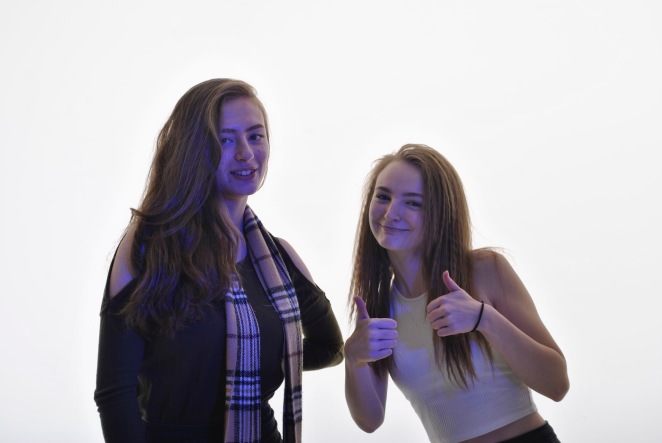
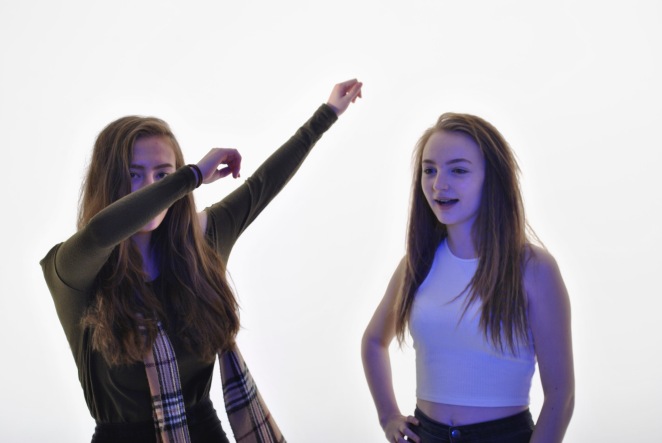
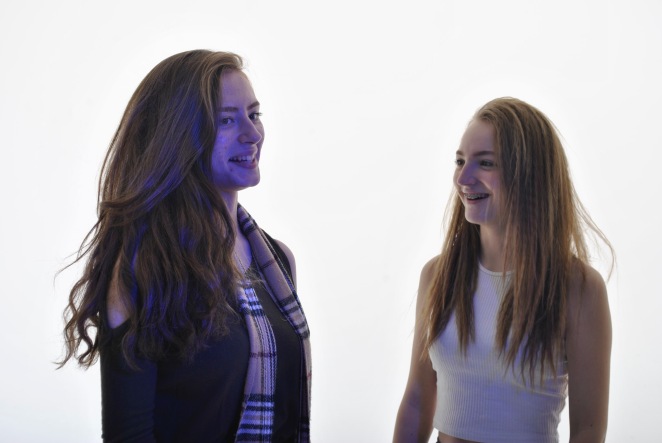
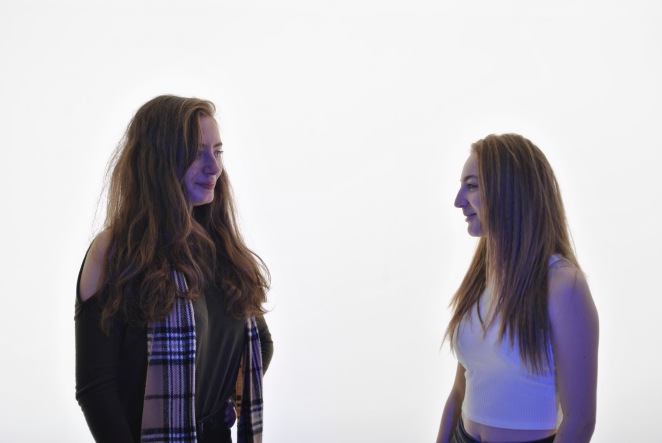
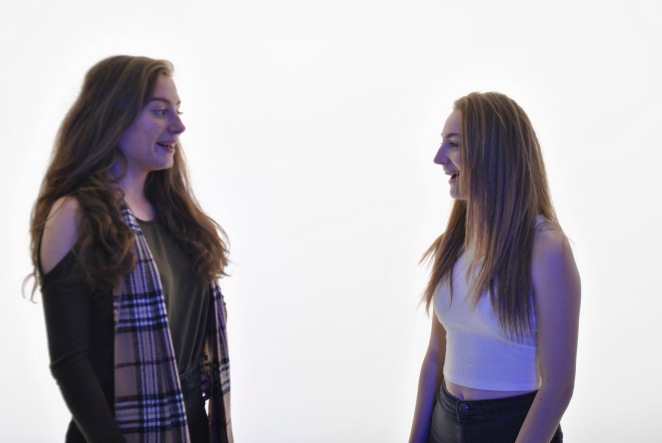
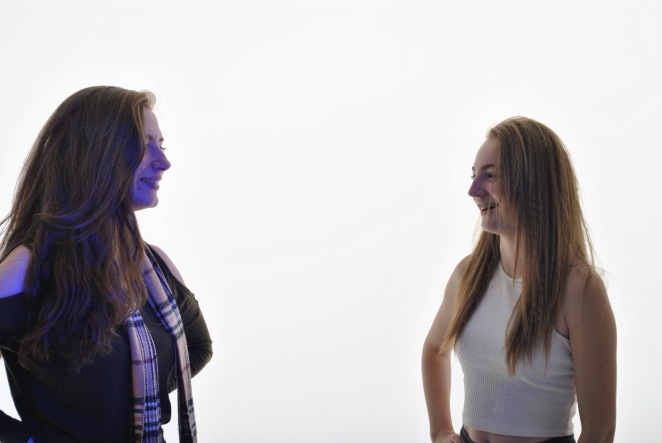
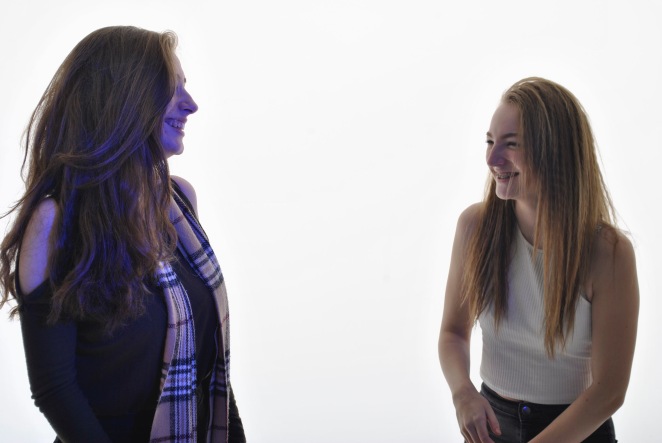
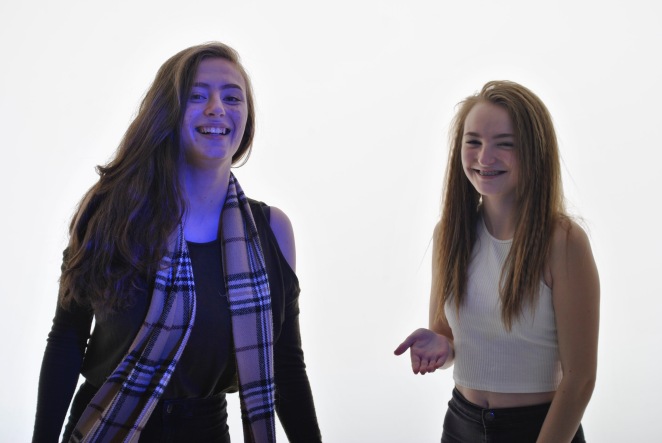
I wanted both models to look different, for example one with the gel light on them and on without. The model the left I had to put the brightness down I also put the contrast up and finally I added more vibrance so that it was more brighter. The model on right, I didn’t do anything to the colour of her all I did was add different colours that would stand out from the purple on the other model and I outlined her whole body that you can see in the photo in a bright green colour. I outlined her clothes in red because she was wearing neutral colours so I wanted to vibrant colour to her clothing s that it stood out – so that you could see the creasing in her clothes. I then outlined her face, arms and one of her hands in a light blue shade and I just went over any lines or facial features that I want to highlight.
